
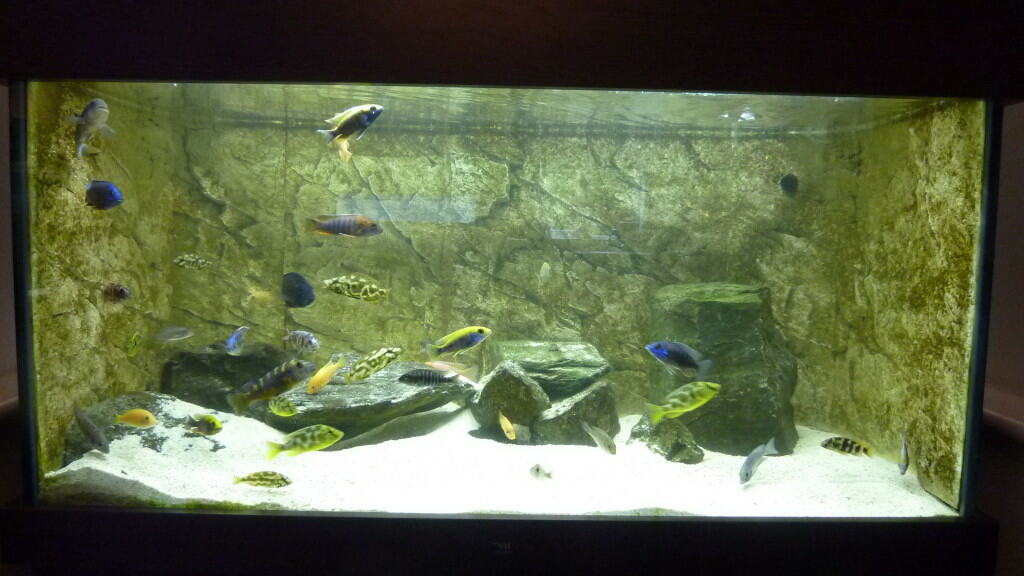
We want to be clear at the offset, this is how we have installed a 3D background which is designed to attach to the aquarium walls directly rather than a resin background.
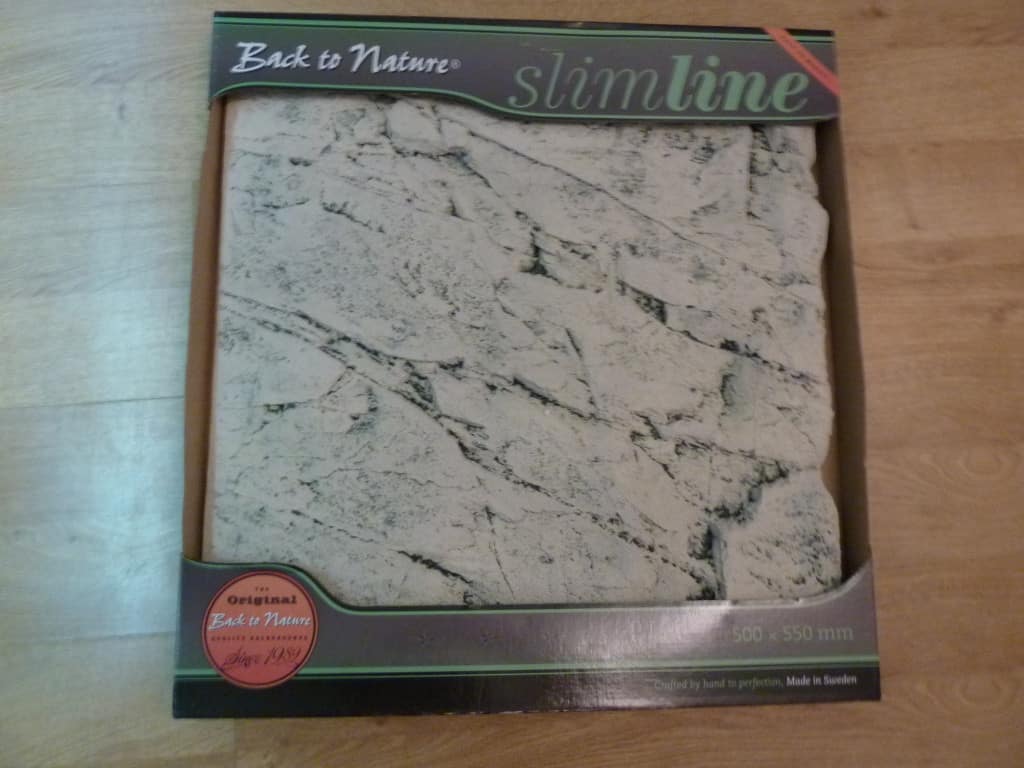
Foam based aquarium 3D background include those from the likes of Juwel and Back to Nature and will float if not attached to the aquarium due to their buoyancy. For this particular guide we will be using the Slimline 3D backgrounds available from Back to Nature which we recently reviewed. Due to installing this background in a tank which already had fish and water in it we have used Gold Label Pond Sealant as the adhesive rather than normal aquarium grade silicon due to the Gold Label product forming a bond and curing underwater. You can use normal aquarium silicon instead if the tank is empty and dry.
We have installed the background on to an ND Aquatics 4x2x2 custom aquarium with the intention to be to cover 3 sides of the aquarium leaving just the front open. We also want to bridge both corners at the back of the aquarium to cover heaters and pipework whilst having the output of a Fluval FX6 filter on one corner and the input in the other corner. The complete equipment and shopping list includes:
- 3x Back to Nature Slimline Limestone 60A 3D Background
- 3x Back to Nature Slimline Limestone 60B 3D Background
- 2x Back to Nature Slimline Limestone 60C 3D Background
- 1x 290ml tube Gold Label Pond Sealent
- 1x Juwel Filter Basket
- 1x Sheet Mesh
- 1x 25mm Elbow Joint
- Junior Hacksaw
- Power Drill
- Scissors
The first thing we need to do is to drain half the water from the tank to make the background less buoyant and to make it easier to fit them. The next job was to cut the background to size, we will do this as we go along due to all the will in the world wanting to be able to plan this to the mm however cutting on the job we found was more accurate.
The first piece to be added and cut was on right hand side panel, as we used the Back to Nature 3D Slimline background there is a slight overlap on one edge to ensure continuity of the background between pieces. Due to the next piece being at an angle we needed to cut this overlapping part off. This was done using a junior hacksaw. Once cut to size we put a reasonable amount of adhesive (Gold Label Pond Sealant) on to the top edge and back of the 3D background. This was then slowly lowered in to the water and pressed against the glass on the right hand side of the tank. Rocks were then pushed up against the background within the tank and left there whilst the adhesive cured.
Now we were on to the first corner section, again, the overlap was removed and for this we used one of the 60C background pieces. After cutting the edge off we also drilled a 25mm hole for the filter outlet to come through. The normal FX6 outlet hose was removed and the 25mm elbow joint attached. Once this was in place adhesive was applied to the sides and top of this piece of background and it was put in place ensuring the filter outlet was pulled through the hole we had drilled.
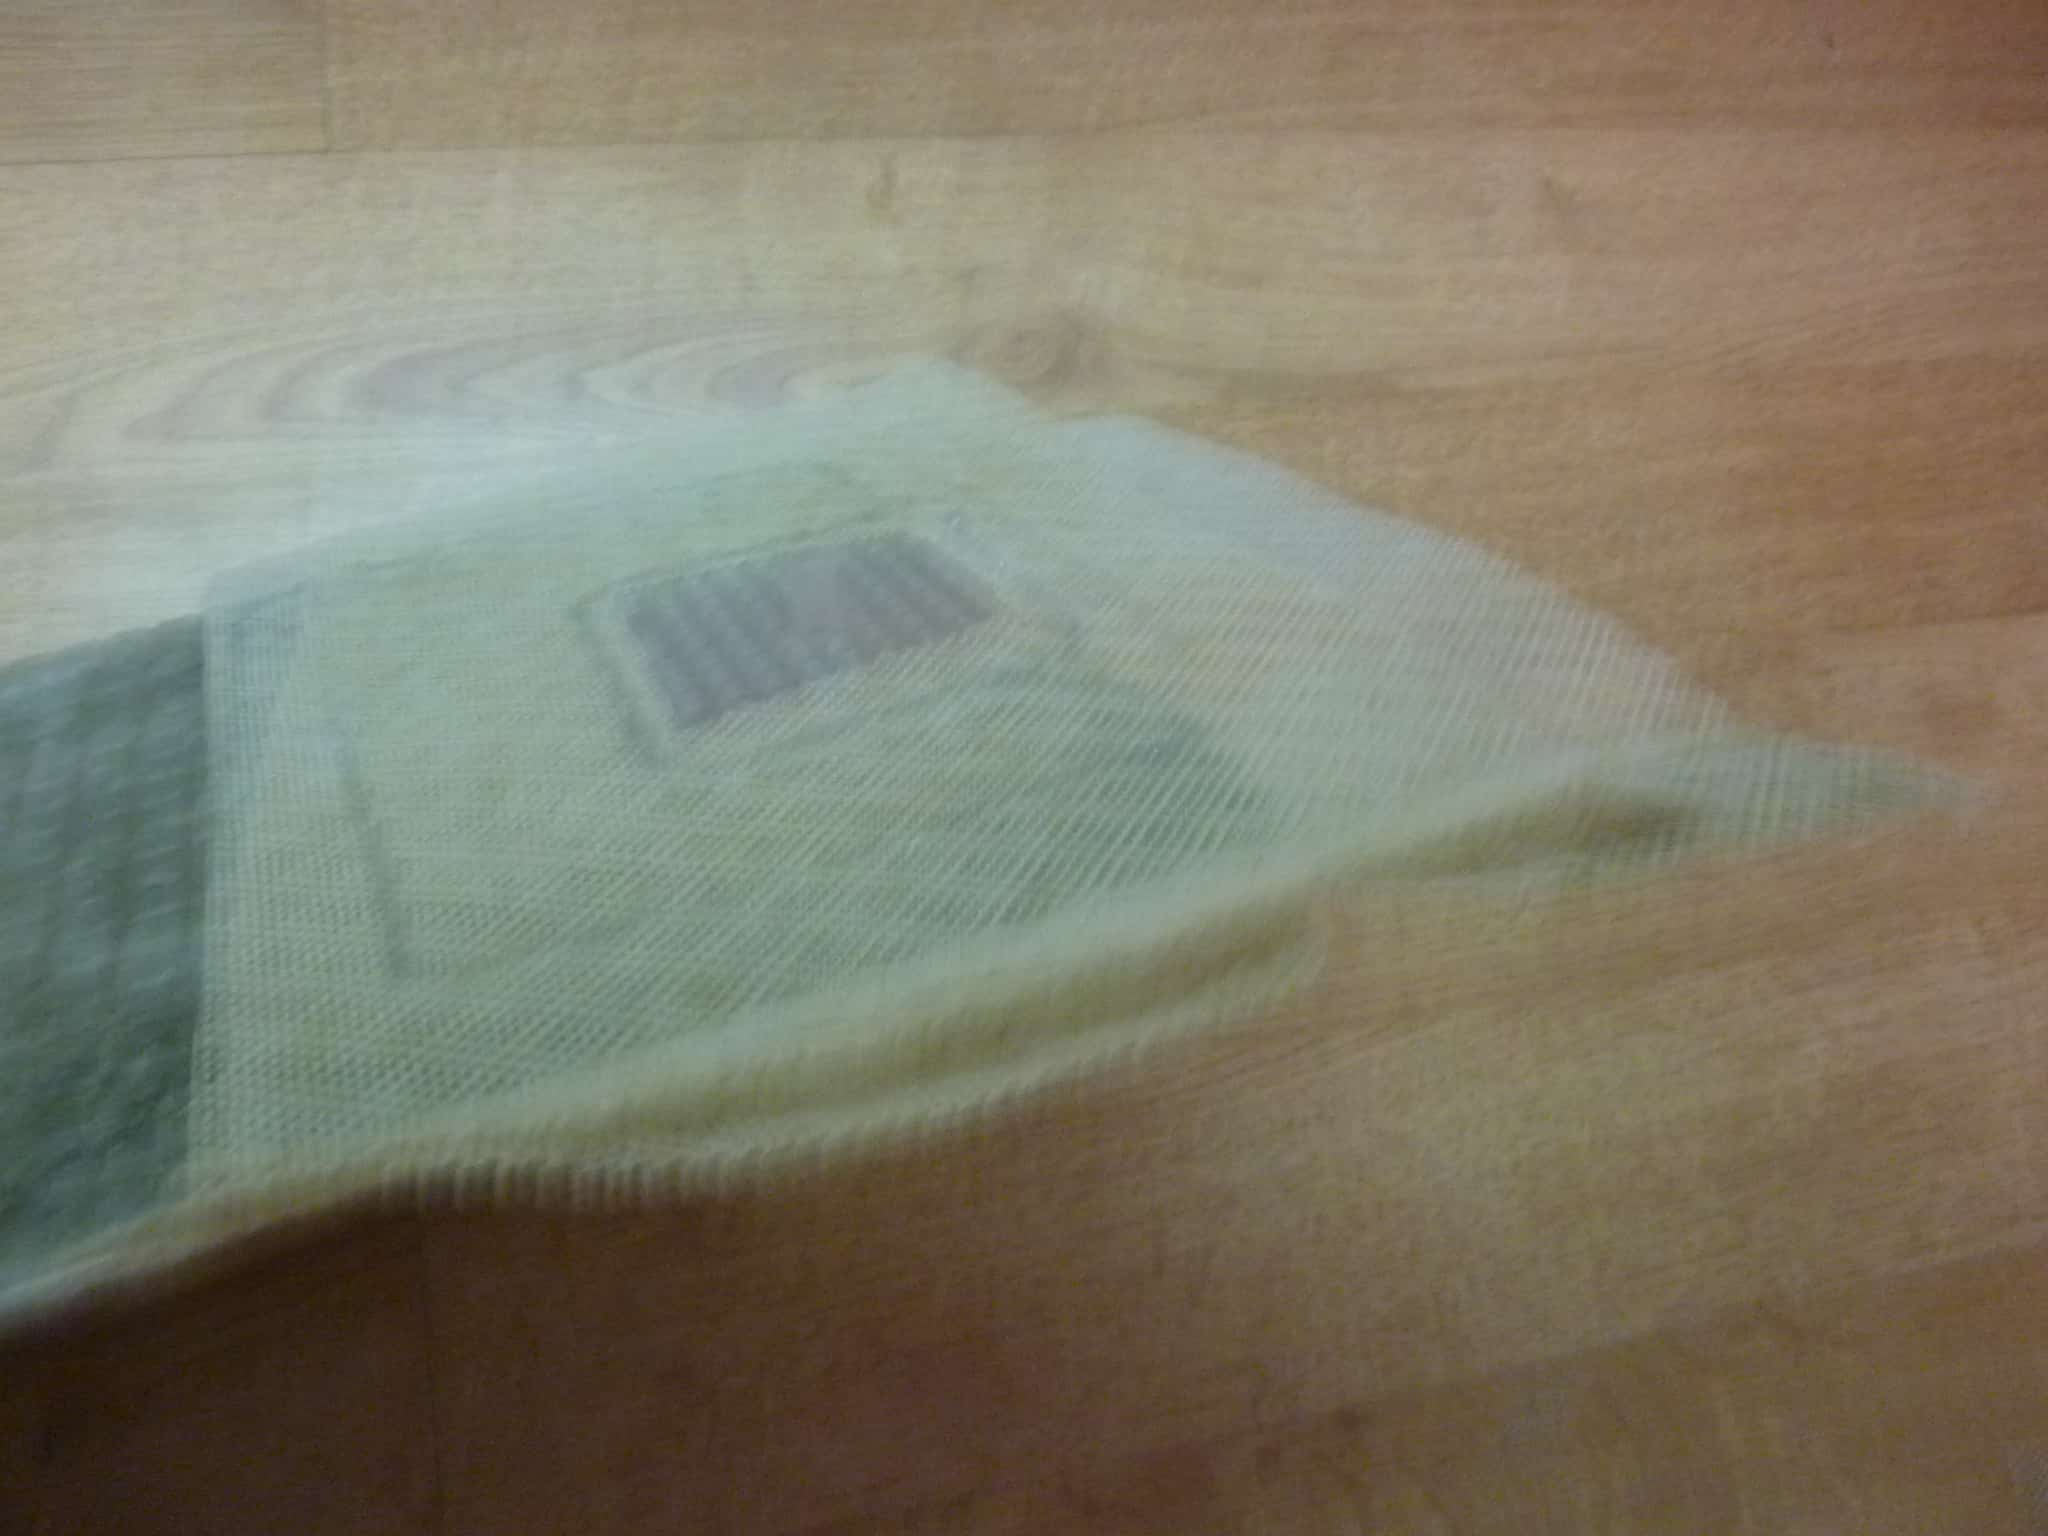
The next part to add was the left side panel, done in the same way as the right side panel, we then did the left back corner section which was to hide the FX6 filter inlet. To do this we cut a 10cm square from the bottom of the background section. This was then filled with the bottom of a Juwel Filter basket and then surrounded with mesh. Once dried this section was added by using adhesive on the sides and top again.

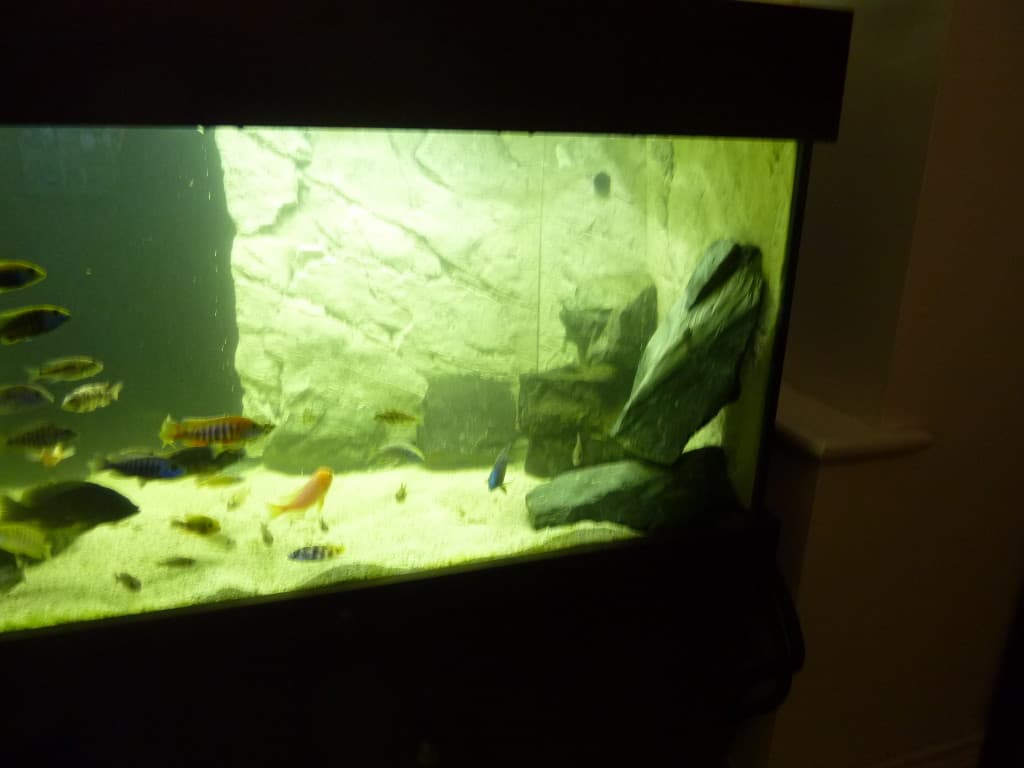
 Now that both the sides had been done we could add the first of the 2 back sections which wasn’t cut but simply stuck in place, we then measured by eye the remaining space on the back of the tank, cut the final piece to size and the stick in place.
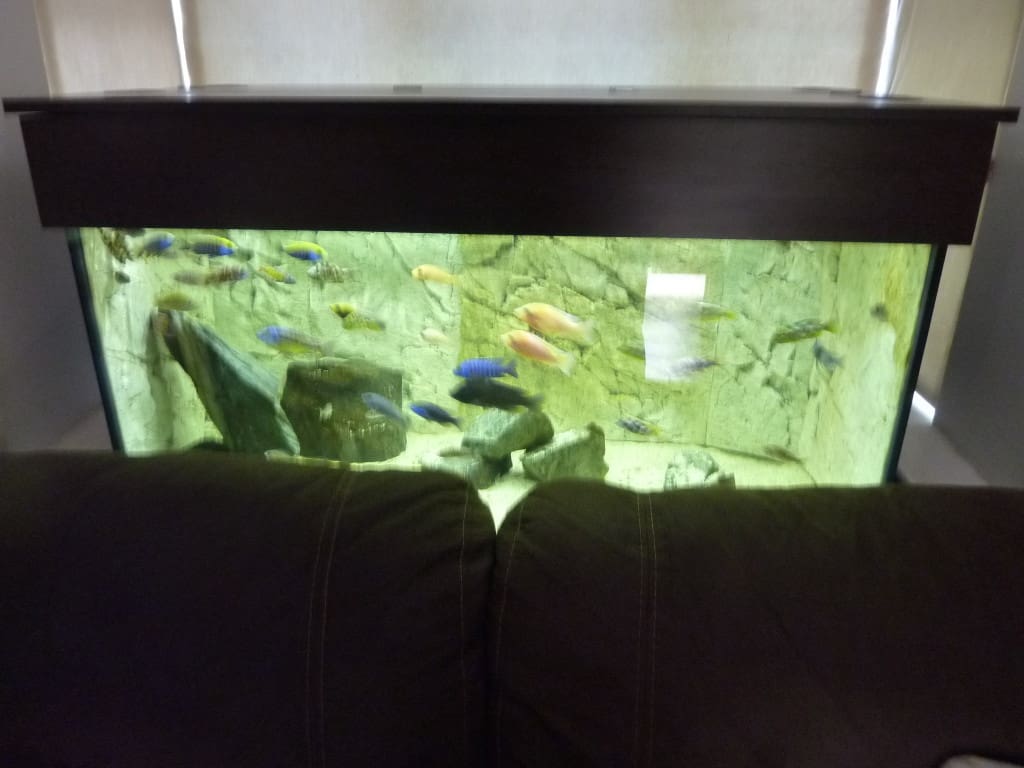
The main thing to remember is to be patient and leave the sections held in place by rocks for at least 24 hours to ensure there is a sold bond in place. Now it was time to simply pop the heaters in behind each corner and away we go.
Related Posts
A Deeper Look In To Loach Fish Species
How Much Salt Should I Add To My Freshwater Aquarium
Everything You Need To Know About Using T5 Lights For Your Aquarium